Sunday, 2 February 2014

Bedroom


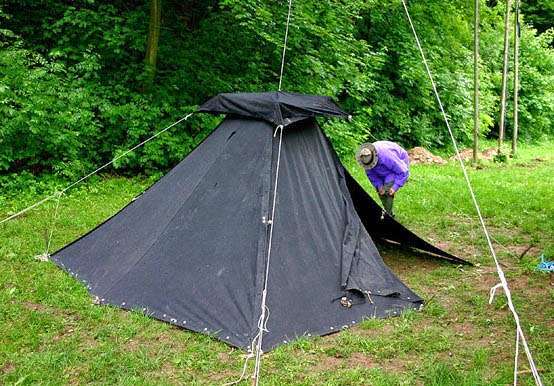
I have had this idea many years ago: wouldn’t it be great if I could connect – dock, so to speak – my long-serving Hilleberg Namatj tunnel tent to a yurt. Some youth groups do exactly that – they use multiple sleeping tents connected to the yurt in a star shape. While I have never experienced that I myself, can see how appealing this concept is. The yurt’s main room becomes the living / dining room / kitchen which is connected to several “bedrooms”. Tortuga offers the “Ramses” tent which is specifically designed to connect to a standard yurt – although requiring high side walls.

So, I have had this trusty little tunnel tent by Hilleberg for at least 20 years which looked like the perfect candidate for connecting to the yurt. Its advantages – besides the fact that I already have it – are that

a)      its width suits perfectly to the width of one of the yurt’s side walls and

b)      it has a zip-able vestibule extension in front of the entrance, allowing converting the Namatj 3 to a Namatj 3 GT. The current version of the Namatj does not have this anymore – it comes either as version with short or long vestibule.

first concept design
With the right customised yurt side wall segment I could remove the vestibule’s apsis and zip it to the wall. I only need a spare yurt side wall and the correct zipper. The sidewall was on sale as a factory second at Ralph’s www.jurtenland.de because its dimensions were slightly off spec. I figured that this should not matter with the large opening that I was about to cut into it. Getting hold of the correct zipper required a bit of research. Hilleberg’s website recommends the Outdoor Service Team company (www.outdoor-service.com) in Berlin for repairs on their tents. Birgit Prasse responded to my email and was extremely helpful. She had to refer back to Hilleberg and was able get the correct zipper to me in very short time and very cheaply. I then marked on the side wall where the zipper needs to go and took it to a local upholsterer who sewed it in.

And that was all. I couldn’t wait to test it. I worked perfectly with no need for any modifications. It is really popular with the children – they all want to sleep in there. And I had thought everybody wanted to sleep in the yurt and the Namatj would become the “naughty corner”.


Sunday, 19 January 2014

Cuboree 2014


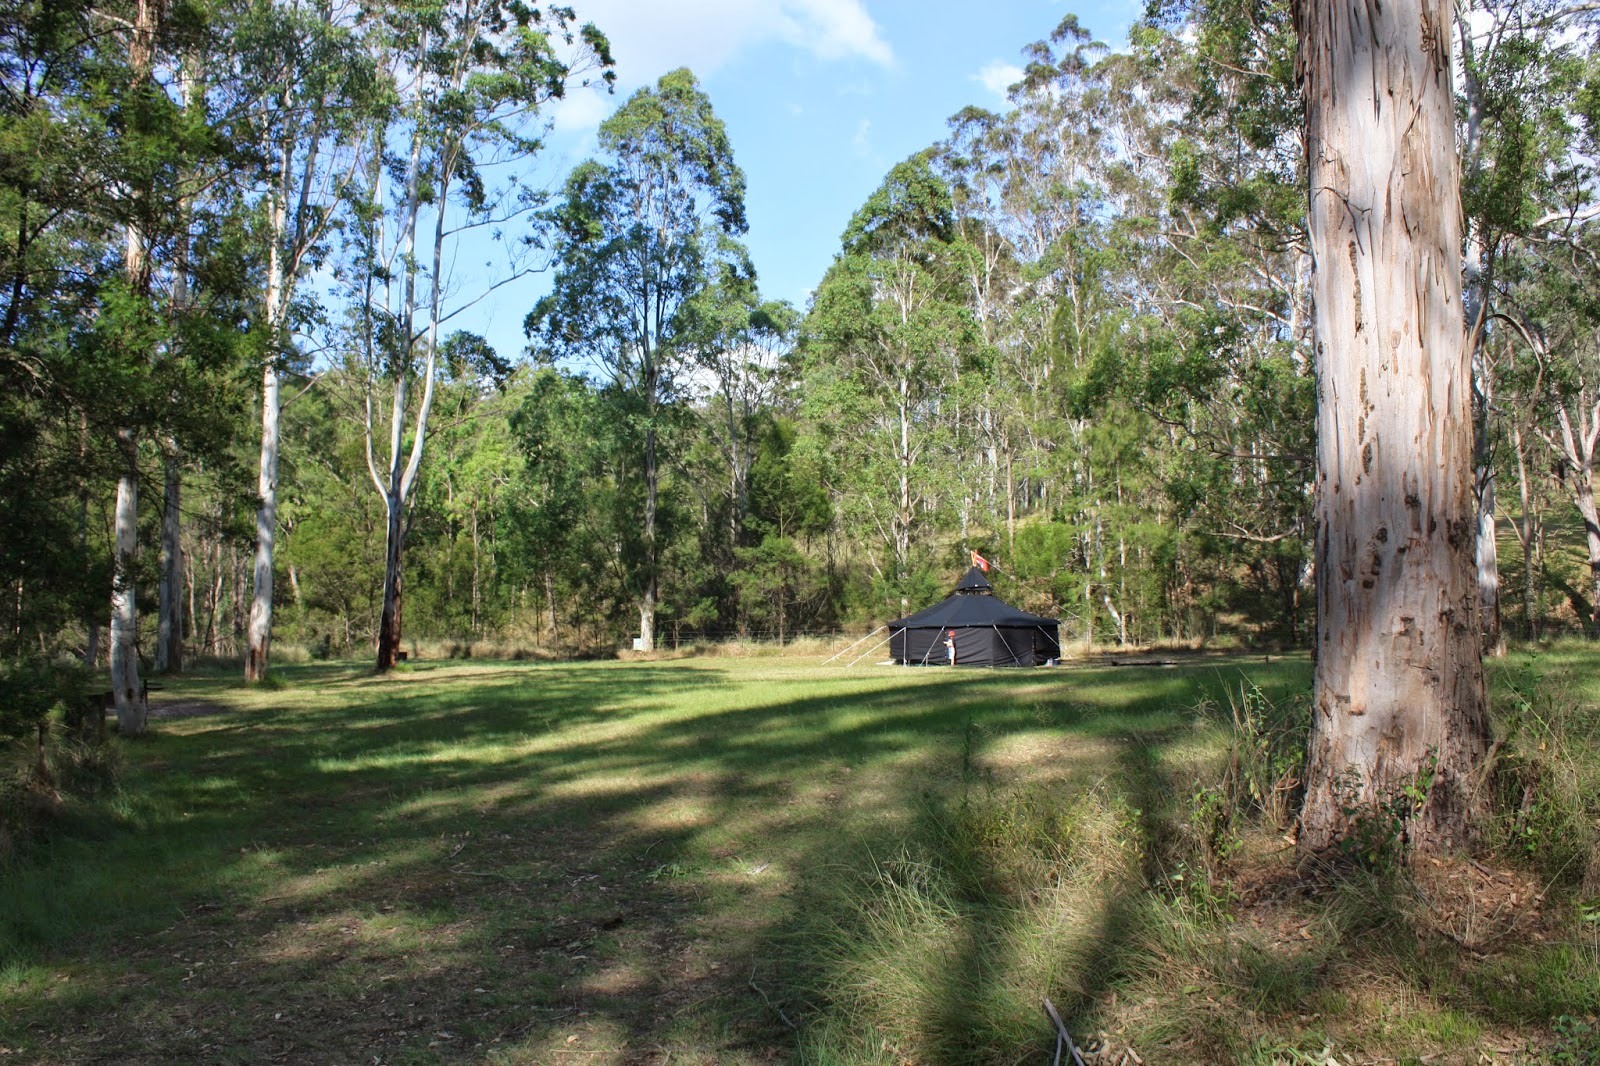
We took the yurt to another of its native habitats - Cataract Scout Park for Cuboree 2014. With its dark interior it provided the right atmosphere for the achievement badge "Space" in the GWS Region base.
Thanks, Anne, for having us - it was great.


Monday, 21 January 2013

Euroka January 2013


The Christmas holidays finally offered an opportunity to take the yurt into its natural habitat - a nice campground in the bush. We chose the Euroka clearing in the beautiful Blue Mountains National Park and had or first few nights in it.

It all worked perfectly and everyone had a great time. But it was hot. With the temperature in the thirties and all the sun, the black tent became very warm - until we switched on the air conditioning: lifting the bottom of the side walls slightly to create a nice draft.


Sunday, 16 December 2012

A big day - the first trial


Finally all parts are complete and I am wasting no time to give it a try setting up. How long since I last erected one of these yurts? Ten years at last, perhaps longer.
A friend is kind enough to allow us to use her garden. As I load the gear into my car I check one last time if I have everything:
• All canvas parts:
  - Half roofs: 2
  - Double-width side walls: 6
  - Skylight cover: 1
    (with shock cords on the eyelets and mini carabiners at the end
• Tripod:
  - Three-part legs: 3
  - Rope for the tripod lashing: 1
  - 6-armed chain: 1
   (with shackles on the end of each arm and a central carabiner)
  - Pulley: 1
  - Rope for lifting the roof: 1
• Walls:
  - Extendable steel poles: 12
  - Guy ropes: 15
  - Pegs: 15
• Tools
  - Tape measure
  - Hammer

Now, do I still remember the sequence of steps?
Lash the half-roofs together on the ground - kids are helping, all good so far.
Turn the roof right side up; lay it out neatly at the correct location.
Extent the steel poles to the right length - 165 cm.
At each roof eyelet, put one steel pole on the ground. Attach a guy rope onto each D-ring.
Now the tricky bit: erect the 12 steel poles so that the circumference of the roof is held up. For now, the roof fabric is still hanging down in the centre like funnel, but that's ok. I have three children as helpers and it takes me several times of going round the circumference placing the pegs, tightening guy ropes and then repositioning pegs until I get it right. The kids are getting bored by now of holding onto poles but eventually we get it done.

After a quick break for a drink - it is getting quite hot - we tie the tripod. Now add the pulley to the rope ends remaining after the left tripod lashing and feed the rope for the chain through the pulley for later use. Tie the top edge of the skylight cover with its pull cord to the tripod just above the lashing. Trying to set up the tripod in the centre of the yurt teaches me two lessons:
  1. Need to add a pin to the joint of each tripod leg so that they don't come apart.
  2. At least two adults are needed for the job.
After a brief moment of stress, we get the tripod in.
Next, attach the ends of the six chain arms to the six eyelets of the roof's skylight edge. Hook the chain's carabiner into the rope that goes through the pulley.
Now the most exciting part: pull the roof up. It works and the kids stand there with gaping mouths - I think they could not imagine how this thing would ever become a tent.
The next step is fiddly too: get the shock cords from the eyelets in the bottom edge of the skylight cover to the outer edge of the roof. Best technique: I stand on a tower of milk crates in the centre of the roof, poking my head through the skylight and throwing one shock cord at the time to the kids who are standing on the outside of the wall catching the cord and hooking it onto one of the D-rings. That worked pretty well - I am quite proud of the progress so far and we have another drink of water.
Now to the side walls: It is not difficult but it takes a while and our fingers get sore form buttoning.

But eventually we get is done and have thereby erected - as far as I know - the first canvas yurt in Australia.
It stands quite well despite the ground not being completely level. All worked, I had all the gear - a great success.
One thing I missed: we attached the skylight cover inside out - the tag is showing.


Tuesday, 30 October 2012

The tripod

To save transport and importation cost I have bought the canvas components from Tortuga . I figured I could buy all other components locally or make them myself.
I knew from the beginning that the tripod was the most important and - at the same time -the most challenging component. (I had decided to use an internal tripod for time being but there are quite a number of other possibilities which I won't discuss here).


my template
Length: for my yurt with standard (165 cm) high walls I decided on a length of 4.2 m for each leg of the tripod. For ease of transport they are to be in three segments, giving 1.4 m for each.
Material: In Germany there are smaller diameter (from memory around 35 mm) hard wood (beech) poles and large diameter (around 67 mm) soft wood (spruce) poles in use. I chose hardwood and a smaller diameter.
Diameter and raw stock: my search for round hardwood timber of suitable diameter did not lead to anything. I found a manufacturer of outdoor umbrellas with hardwood posts but was told that all umbrellas are assembled in China and there was no way I could get the posts by themselves. I eventually ended up going to the local timber yard where the owner cut and planed for me Blackbutt two-by-twos of the right length. The finished cross section was 42 x 42 mm.

Joints: I used sleeves made from Stainless steel pipe Sched 10, 32 NB (OD 42.16 mm, ID 36.62 mm); 400 mm long.

The next challenge was to get the cross section into a suitable shape. I gave up on the idea of a circular cross section and decided on an octagonal shape instead - except for the ends - that needed to fit into the sleeves - which needed to be round. Luck was on my side and Bunnings had a sell off of router bits and I ended up getting a massive 25 mm x 45 degree bit at a greatly reduced price. I then proceeded to use the 1/2 inch router on the router table to fashion 45 degree chamfers on my two-by-twos. As the Blackbutt timber was I pretty tough (after all that is what I wanted) I had to do two passes on each edge. 2 passes on 4 edges times 9 post segments required 72 passes on the router table. Quite a bit of work and quite a bit of mess but in the end I was very happy with the result.

The next problem was the circular cross section. Jan Pennell from the Blue Mountains Wood Turners saved me. After consulting with her colleagues she took on the job. At 1.4 m long the parts did not fit on even the longest lathe. She ended up using two lathes, lined up behind each other! She also had to use several "steadies" to keep the parts rotating smoothly while she worked the 200 mm at the ends. I specifically requested smooth, rounded transitions from the 36.5 mm diameter sections to the octagonal cross section. I also supplied Jan with the pipe sleeves so that she could test their fit during her work.
Each tripod leg consists of two "Type B" sections and one "Type A" section. One of the "Type B" and he "Type A" has the pipe sleeve permanently attached. (Our initial thought that press-fit would be sufficient to hold the pipe did prove wrong - the timber diameter is changing too much with varying moisture conditions and the sleeves became all loose after a while. I ended up securing each sleeve with a countersunk screw). The corresponding ends that fit into the pipe sleeves during assembly were made a loose fit.


rounded transition from circular to octagonal cross section

All in all Jan did the most outstanding job. From the first assembly each tripod leg assembled easily and accurately. I treated them with decking oil and they were almost ready. The only other pieces of hardware that I installed were a cleat one of the lower sections for the rope that lifts the roof and an eye bold at the very top end of a top section in case I want to use is as a flagpole to run a string up to it.

The tripod is most likely over-engineered being of hardwood timber and the stainless steel pipe sleeves but it has proven its durability. It can easily carry my weight whenever I have to climb up on it to untangle any skylight cover shock cords (a task that I try to dodge but sometimes cannot avoid).

Sunday, 13 June 2004

KoJu Seminar 2004

Ein paar Bilder vom Österreichischen KoJu Seminar in Wassergspreng im Juni 2004. Dank an meinen guten Freund Michi "Fifi" Fiala für die Fotos.


Tuesday, 30 June 1998

With vegetable farmers in the Kazakh steppe – September 1998

While working for Médecins sans Frontières in Shymkent, Kazakhstan, I take a week R&R as recommended and spend time with a family on their vegetable farm outside of Shymkent. The family tends to the farm in the summer months and uses a yurt as temporary house. 


Components


Connection Wall - Roof

Roof


Connection Wall - Door

Skylight

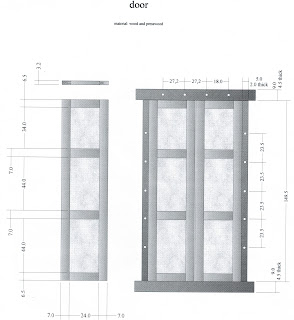
Measurements of the yurts components